Monday, September 30, 2013

Sun Bonnet Quilt Top

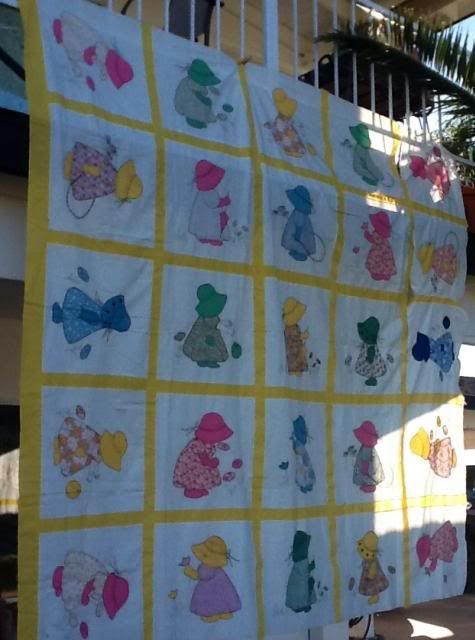
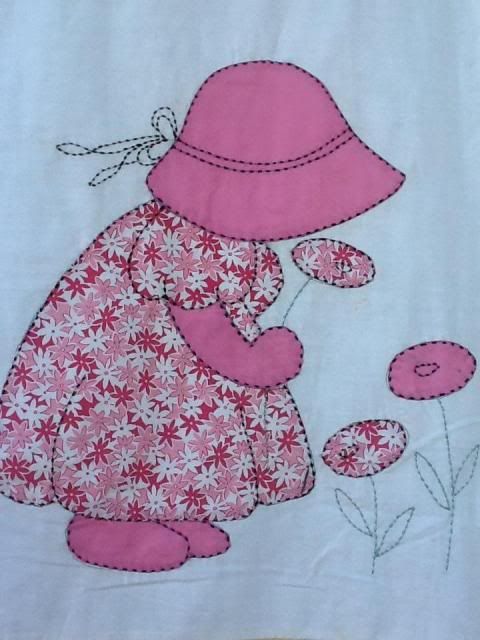
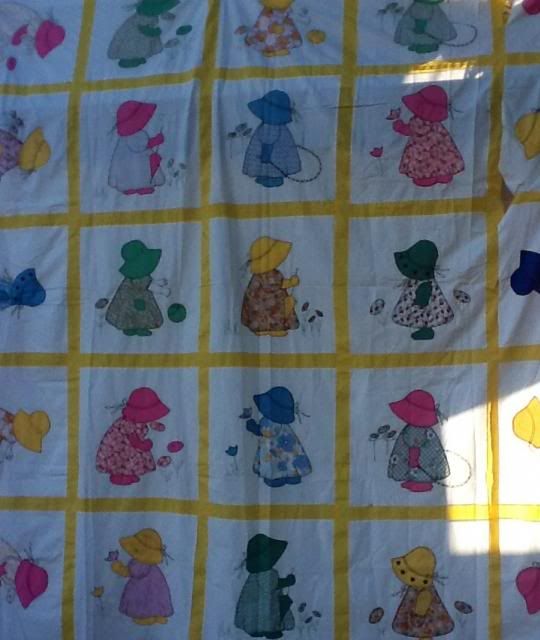
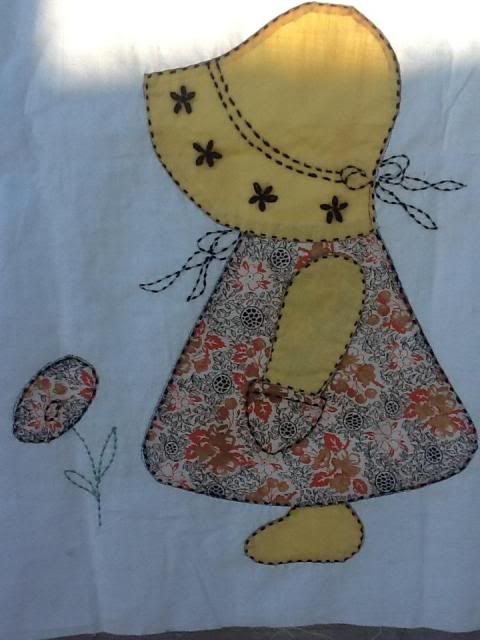
Today I found this Sun Bonnet quilt top, and I couldn't believe how much work had gone into it! It is really quite beautiful. Each girl is appliquéd onto the block, and all the flowers are appliquéd and hand stitched. Most of the top is sewn together. I will stitch a few rows up on the side, and put a border around 2 sides of it. I think I will quilt around each block when I make it into a quilt. Isn't it a beauty!? It is so big I had to hang it off the balcony to take a picture. Sorry for the sun shining though part of it, but it is Arizona, and there is no stopping the sun here!  photo image-1396.jpg  photo image-1622.jpg  photo image-909.jpg  photo image-2083.jpg

Sunday, September 29, 2013

Bird Feeder

This was my find of the week. I found this bird feeder for 25 cents at a tag sale. I washed it up, put a light wash of paint on it, replaced the plexiglass with real glass and added a glass bevel with pretty paper & a saying to the opening.  photo image-2478.jpg  photo image-2154.jpg

Friday, September 27, 2013

Old Window Re-Do

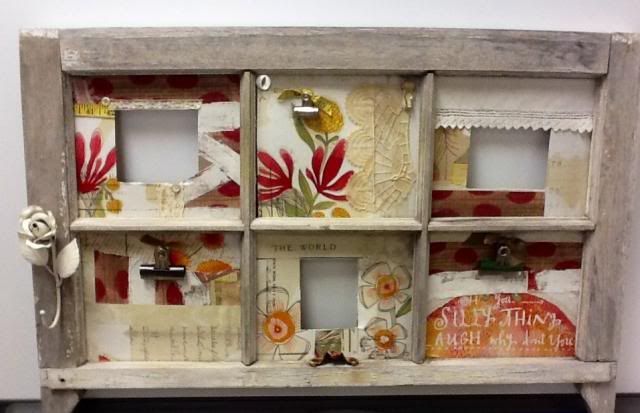
I had a little bit of fabric left from my projects last week so I decided to use it up on this old window panel. I cut cardboard to fit where the glass use to be. I wanted to make some of the windows with frames for photos, and some where I could hang photos or momentous on the outside of the cardboard. I covered all the cardboard with bit & pieces of materials and then glued them onto the frame. I would love to use all of this weeks projects on a restored camper!  photo image-1026.jpg

Tuesday, September 24, 2013

Fabric Covered Chest

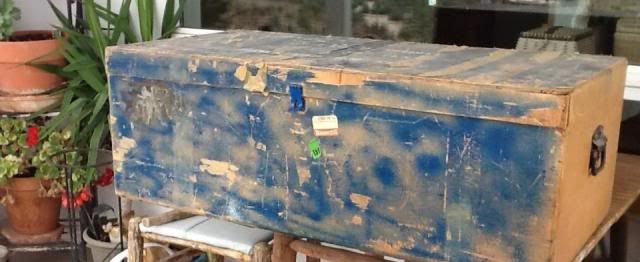
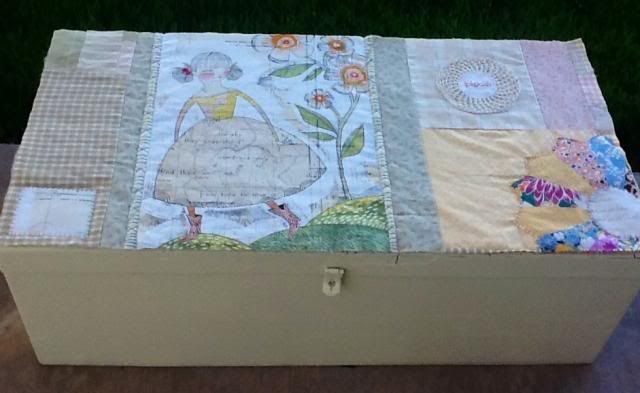
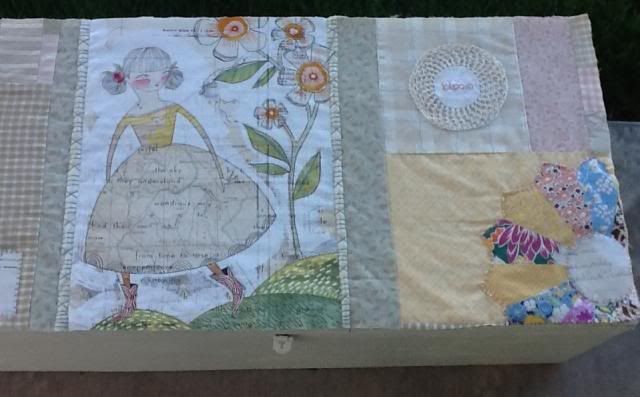
This was my favorite project using the Cori Dantini "Beauty Is You Girls In Bloom". I found this chest for $2.00. It sat outside for 2 weeks before I could figure out how I wanted to use it. My husband and I have a deal that he can throw away my treasures if I leave them sitting outside for more than 2 weeks. That being said, here is how I went about this project. First I sanded the chest down. I sprayed primer on the outside and inside bottom of the chest. Then I painted it with Varspar satin/Lunar Tide paint. I used a peel and stick flower paper on the inside top lid. I'm not sure if it will hold up, but we'll see. Then came the fun part! I took a piece of of a quilt top I had made last summer, and I sewed one of the "Girls in Bloom" onto it. I added a piece of an unfinished Dresden Plate quilt block, and used a piece of the Bloom fabric for the center of it. I sewed some more scraps and embellishments onto the quilted top, and backed the piece with quilt batting. To finish the top, I will sew a decorative stitch around the edge and adhere it onto the top of the chest.  photo image-1064.jpg  photo image-482.jpg  photo image-302.jpg

Monday, September 23, 2013

Star Quilt with Cori Dantini "Girls In Bloom" Applique

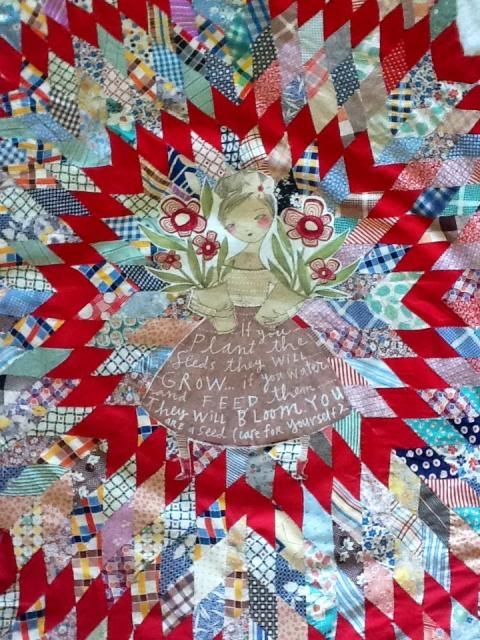
I have had this pieced star for at least 30 years. I thought the piecing was amazing except it did not come together correctly in the center, and it would not lie flat. Then I saw a quilt that used 1/2 of the star, and so I thought that was how I would use the piece. So I cut the star in half. Well, come to find out, I really needed more than half of the star for the quilt. Long story short, I put the star peices away. Then I wanted to do one last project with my 'Girls In Bloom" fabric. I wanted something with a little pop of red in it. I started going through my unfinished project boxes and there sat the star pieces. I also found a linen bed cover. Now the wheels start turning and I got all excited. I layed out the bed cover, put the star pieses on top, and realize if I put fusible webbing on the "Bloom Girt", I could hide most of the star's imporfections! Now comes the work! I hand stitched the star back together in the center of the bed cover. I fused the girl onto the center of the star, and I am delighted! I am hand quilting this piece, so it will take a while, but I think it will be so pretty when I'm done!  photo image-1668.jpg
Sunday, September 22, 2013

Tablecloth Using Cori Dantini "Girls In Bloom" Fabric

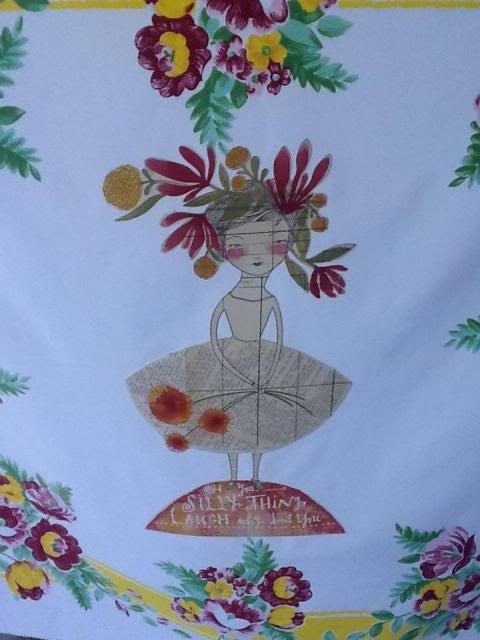
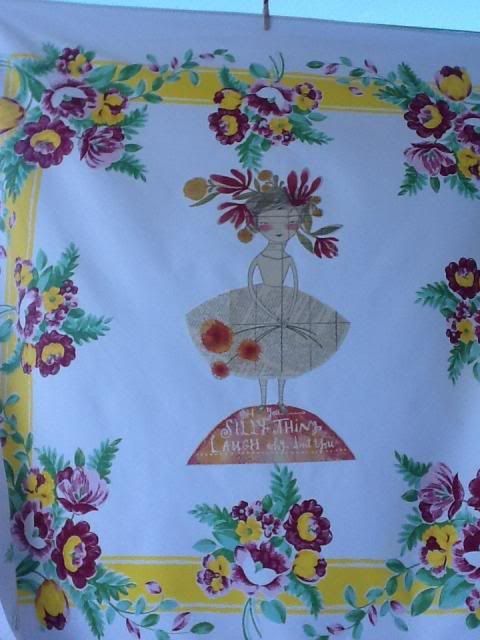
I found the cutest fabric by Cori Dantini. It is called "Beauty Is You Girls In Bloom". Each yard has 3 images of girls with flowers. I couldn't wait to start creating new sewing projects with it. Today I will share the table cloth I embellished with one of the images.  photo image-1914.jpg  photo image-507.jpg This was the easiest of the 3 projects I started. All I did was apply Wonder Under to the back of the image, cut around the flower girl, peel the backing off and iron it onto a vintage tablecloth. I will stitch around the image when I have more time. I ordered this material from www.annagriffin.com. There are many beautiful fabrics and ideas on this web page.
Wednesday, September 18, 2013

Baby Quilt

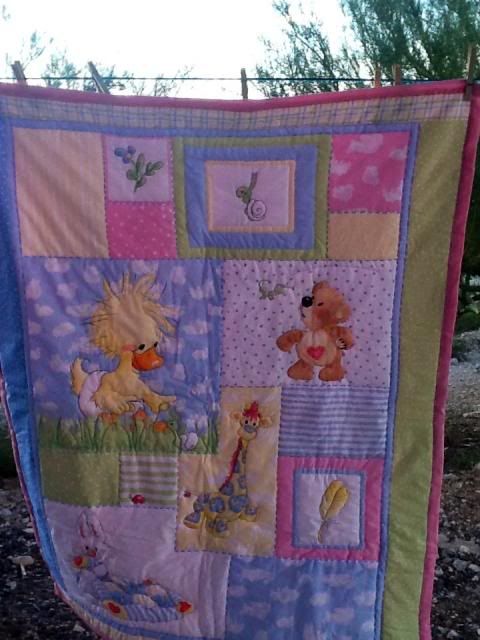
I found this baby quilt at the thrift store. I thought it was so adorable! It had a lot of hand quilting done on it, and it looked like it was never used. The reason I am writing about this is because I often make baby quilts for teachers, family and friends when they are having babies. When I was pregnant with my son, two ladies at work made a quilt for my baby. I cried when I opened the gift. I still have it to this day. I know I am very sentimental, but I hope when I give a quilt to someone, it will be loved and used up. Throw it on the floor, make a fort with it, curl up in it on a cold night, but use it, because that is what it's for!  photo image-2256.jpg

Tuesday, September 17, 2013

Recycled Junk Box

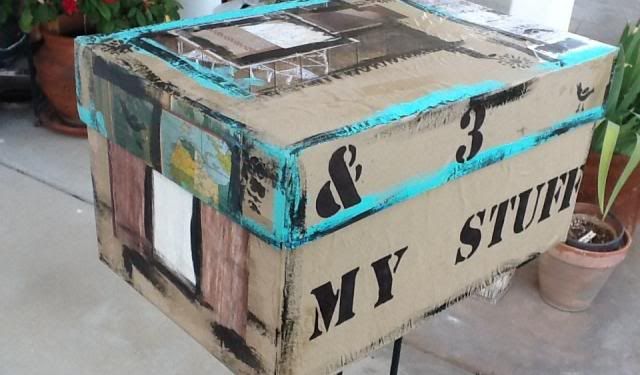
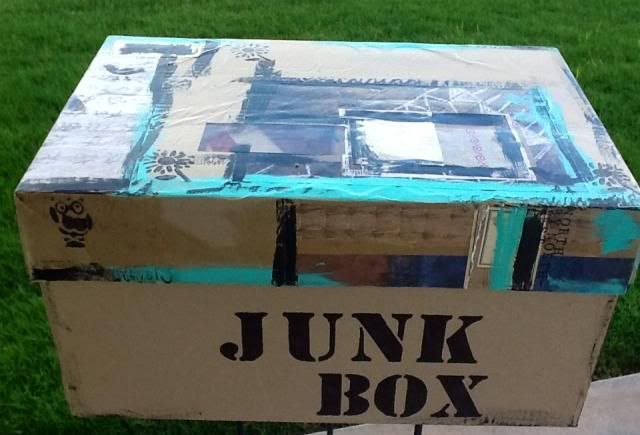
I felt like playing today, so I recycled a xerox paper box. I covered the box with brown packaging paper. Then I glued some strips & pieces of pages from a book onto the brown paper. Next I took some acrylic paints and brushed different colors around some of the torn paper pieces. Then I grabbed a few rubber stamps and put black acrylic paint on them and stamped flowers and birds here & there. When that dried, I took a stencil and sharpie and wrote words on the box. I love to use these boxes to mail packages to family, or just to store stuff in them. They look great out in the open, and it's recycling to boot!  photo image-809.jpg  photo image-1789.jpg

Monday, September 16, 2013

Project Using Some Favorite Supplies

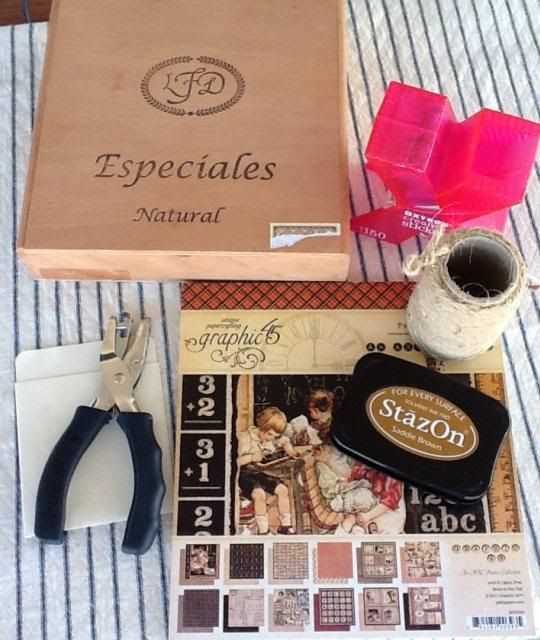
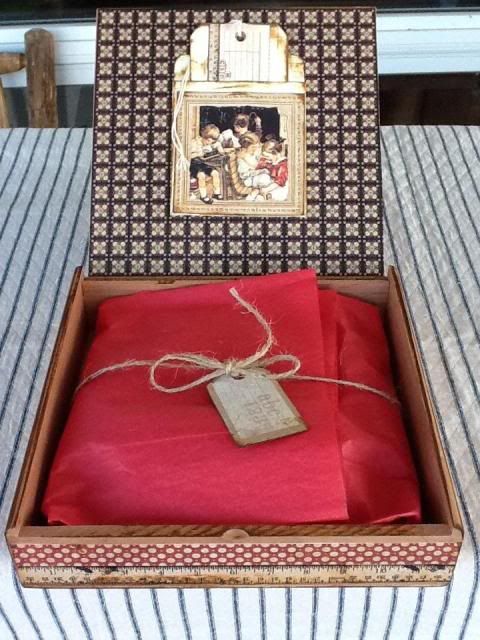
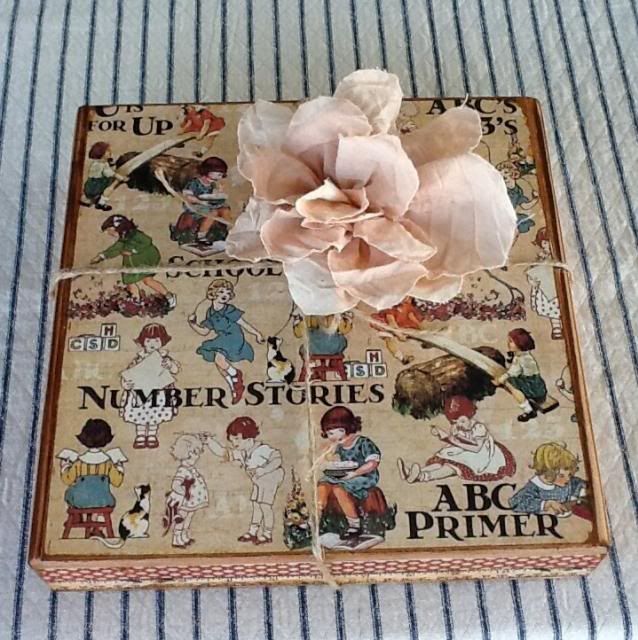
I thought I would share a project I made using some of my favorite art supplies. First I took a wood cigar box. I covered the outside top and inside lid with Papercrafting graphic 45 Paper. Then I took a strip of paper from the same book and ran it through my xyron sticker maker. This is a handy adhesive backer for small projects. Anyways, I applied that strip of paper to the outside front of the box. After I applied the paper to the inside lid, I added a library card holder with a picture from graphic 45. I distressed almost everything with Staz On Ink. You just take the stamp pad and rub it gently where you want a distressed look. I added a tag to the pocket, some tissue paper, twine and a small tag to the inside box. The last step was to tie up the box and add a fabric flower. My cute little box is ready to gift.  photo image-640.jpg  photo image-2397.jpg  photo image-1896.jpg

Sunday, September 8, 2013

Sew Old, Sew Lucky!

Here was my other fun find at the antique store. A sewing box with old sewing supplies inside. I am feeling "SEW" lucky.  photo image-1139.jpg  photo image-1594.jpg

Saturday, September 7, 2013

Vintage Quilt Love

I spotted this quilt today in an antique store and my heart started pounding. I just loved it! I quickly picked it up and held it in my arms. Quilt Love! The colors are soft and the quilting is so intricate. This is a keeper, don't you agree?  photo image-1537.jpg  photo image-1728.jpg  photo image-848.jpg

Friday, September 6, 2013

bonjour apron

This apron is linen with some vintage & floral scraps added. It is long, so even I might be covered when things get messy! One of my sweet students put it on so I could take a picture for my blog.  photo image-464.jpg

Wednesday, September 4, 2013

Art Club Pillows

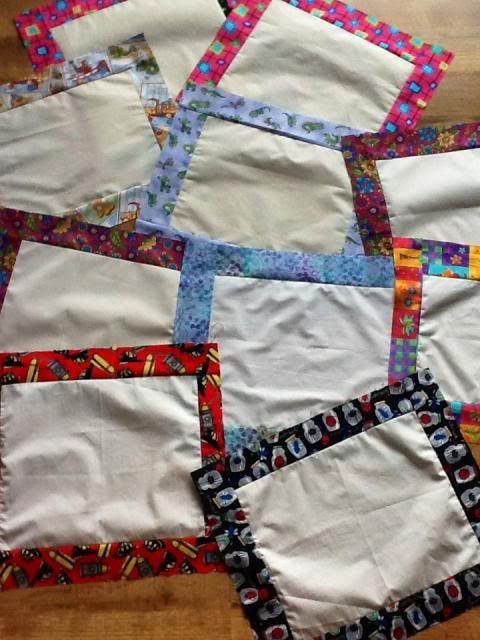
Every year my art club at school makes pillows. I make the front panels with muslin fabric and sew cute fabric borders around the outside. The kids draw and color on the muslin center, then I add the back panel and they stuff and stich them shut. It is usually their favorite project. This would be a fun project for any kids, actually, adults too. I have tried many fabric markers, but this weekend I found fabric markers by Sharpie and I LOVE THEM!!!!! Here are some of the unfinished panels. I will try and remember to take pictures once the kids finish them.  photo image-625.jpg

Tuesday, September 3, 2013

Glider Chair Cushions

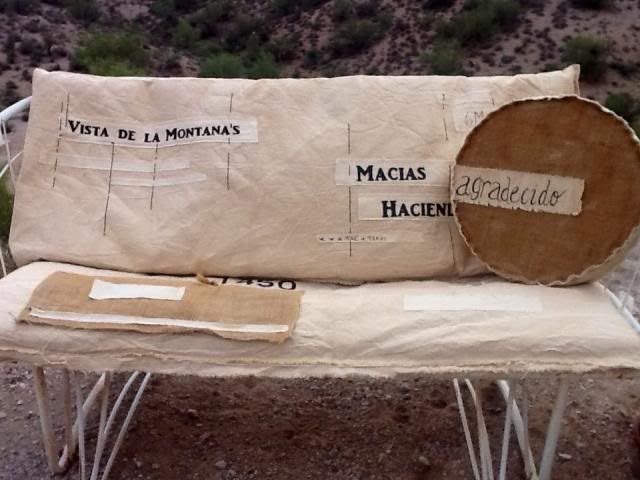
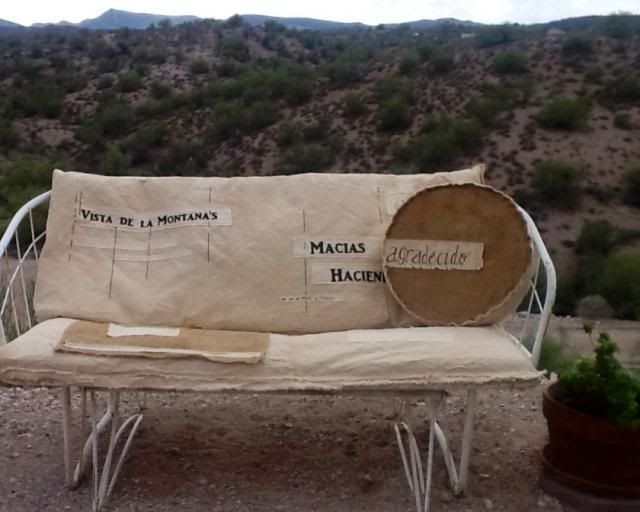
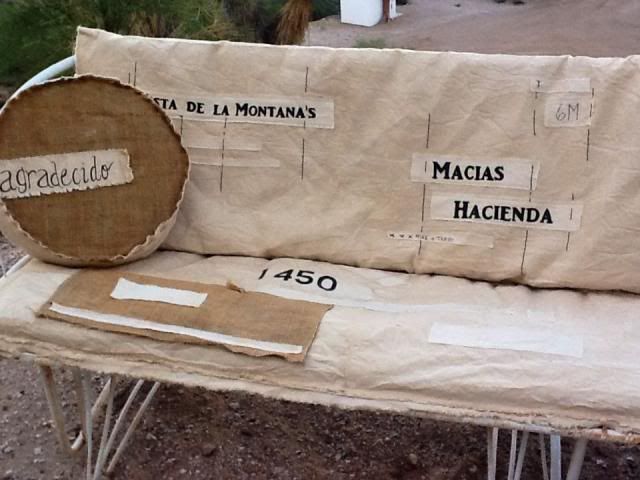
A few weeks ago I saw the neatest chair on the internet. I took a mental picture of it, but didn't note where I saw the chair. So today I started working on some cushions for an outdoor glider chair, and I searched high and low for the chair I had seen. I thought it would be so cute to do something similar. Here is what I came up with. I took some tea stained canvas and covered the old cushions. I had some beigh material, and I tore it in strips and used Sharpie fabric marker to write the text on the strips of fabric. I sewed the strips of material onto the canas, and then used embroidery floss to create the black lines. On the bottom cushion I sewed some burlap down on the canvas, and again sewed the strips of fabric down. The pillow was made from a round pillow form that I covered in burlap and canvas. I wrote the word agradecido in spanish, which measn grateful in english.  photo image-1491.jpg  photo image-746.jpg  photo image-2140.jpg

Monday, September 2, 2013

Little White Truck

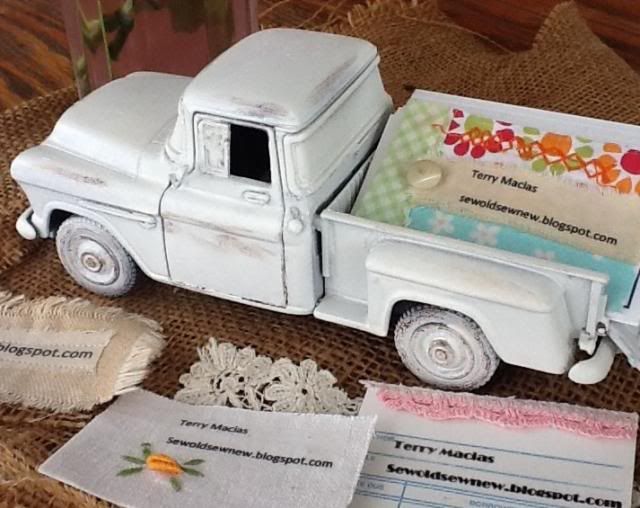
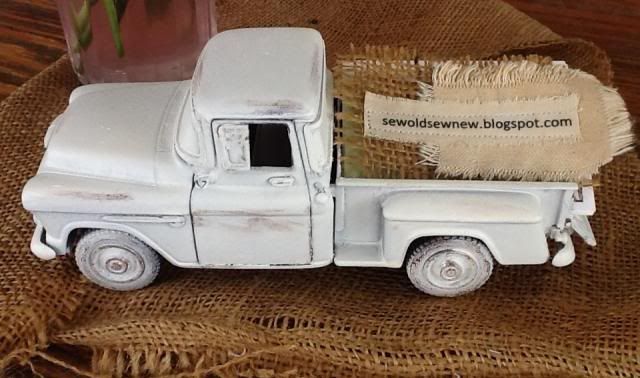
I have seen little antique toy trucks used to hold business cards, plants, and even pin cushions. I bought a new truck and left it outside in hopes that it would rust and look old. Well, it didn't work. So the next best thing was to spray it with white primer. Not too bad!? I made some little blog cards and so I will use my truck to haul them around.  photo image-1308.jpg  photo image-2293.jpg