 So please come on over and visit me at sewoldsewnew.com. You'll arrive at the home-page and then hit blog to read new posts. I'll update the contact information, and all of that soon. If you have a second please leave a comment so I can see who has visited my new site!
Thank you for your support!
Terry
So please come on over and visit me at sewoldsewnew.com. You'll arrive at the home-page and then hit blog to read new posts. I'll update the contact information, and all of that soon. If you have a second please leave a comment so I can see who has visited my new site!
Thank you for your support!
Terry

Wednesday, July 23, 2014
My New Website! sewoldsewnew.com
Hi Everyone! I made the leap from a blog to a website! Please come and check out my new space. It's a work in progress and a definite learning experience for me. I want to be able to communicate with the people that read my blog, and eventually I want to be able to sell my stuff online. I am in the process of creating a Pinterest board and a Facebook page. I swore I would never do this, but here I go!
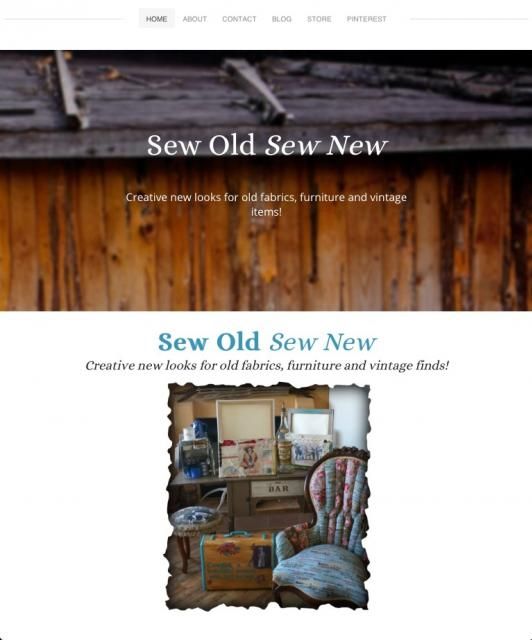 So please come on over and visit me at sewoldsewnew.com. You'll arrive at the home-page and then hit blog to read new posts. I'll update the contact information, and all of that soon. If you have a second please leave a comment so I can see who has visited my new site!
Thank you for your support!
Terry
So please come on over and visit me at sewoldsewnew.com. You'll arrive at the home-page and then hit blog to read new posts. I'll update the contact information, and all of that soon. If you have a second please leave a comment so I can see who has visited my new site!
Thank you for your support!
Terry
Monday, July 21, 2014
Coffee Station for School
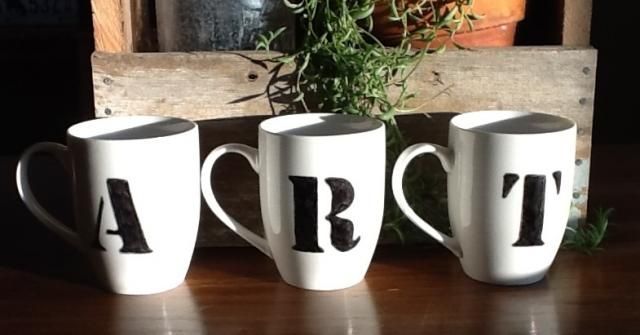
I'm starting to get back into the school mode since I have only 10 days before the new school year begins. I decided to make a coffee station. This idea started with 4 white cups I bought at Marshall's. I wanted to try drawing letters on them with a Sharpie marker and then baking the mugs so the marker became permanent. I decided to write
A-R-T on 3 cups.
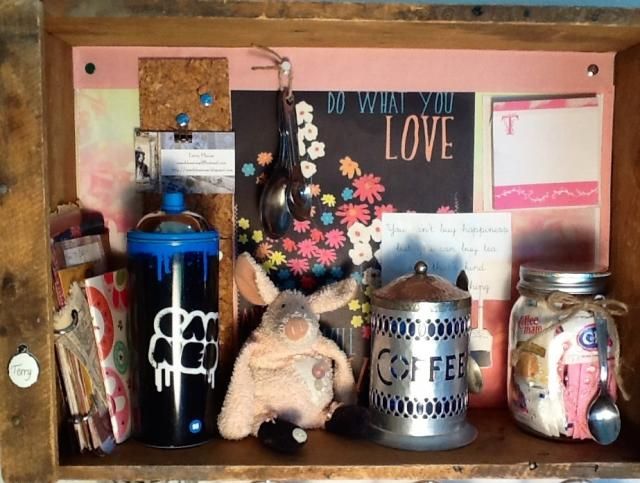
 So while I was waiting for the cups to bake & cool, I took a wood crate and added magazine art and some cork board to the inside/back of the crate. I set a jar with creamer & sweeteners, a coffee can, and a drink bottle that looks like a spray can on the bottom shelf. I added a journal & the little pig for fun!
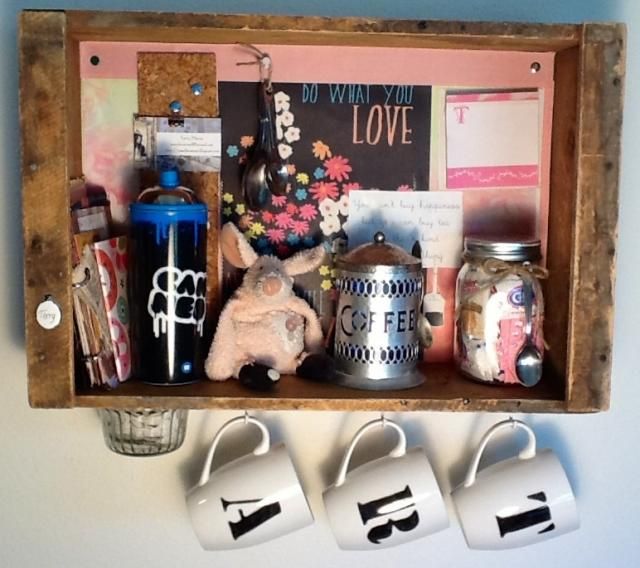
 Once my cups were cool, I hung them on the bottom of the crate and then attached a jar with teabags.
 So while I was waiting for the cups to bake & cool, I took a wood crate and added magazine art and some cork board to the inside/back of the crate. I set a jar with creamer & sweeteners, a coffee can, and a drink bottle that looks like a spray can on the bottom shelf. I added a journal & the little pig for fun!
 Once my cups were cool, I hung them on the bottom of the crate and then attached a jar with teabags.

Sunday, July 20, 2014
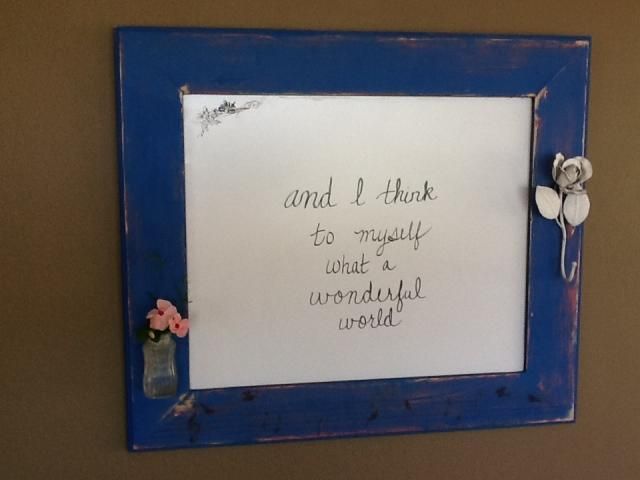
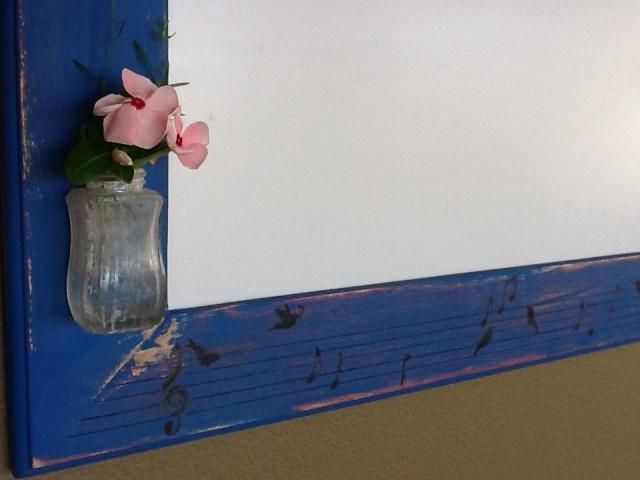
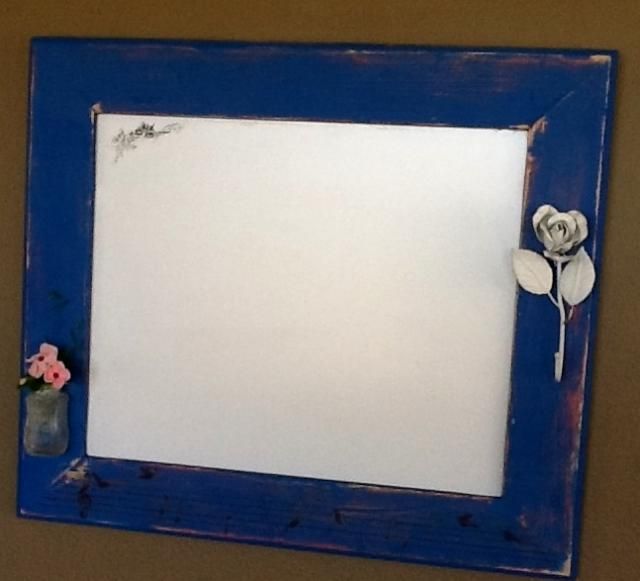
Decorative Whiteboard
The frame on this wood whiteboard has 3 colors of paint; cream, rose and blue. I sanded it after the paint was dry to give it a distressed look. Then I drew the music part on the bottom, and lightly sanded it. The whiteboard was cut out to fit the frame, and the flower & bottle were added to hold stuff.


Saturday, July 19, 2014
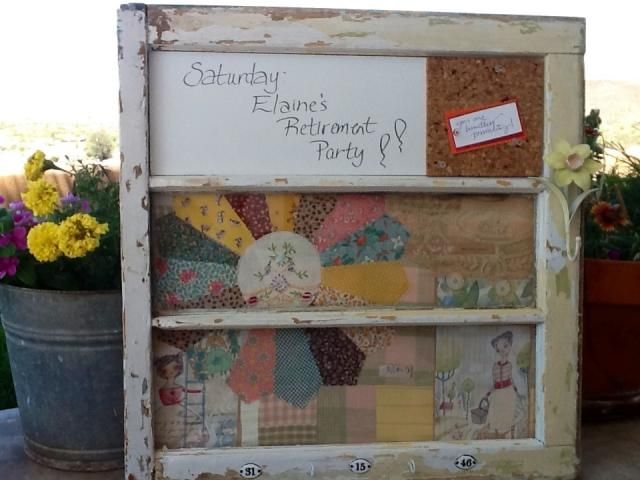
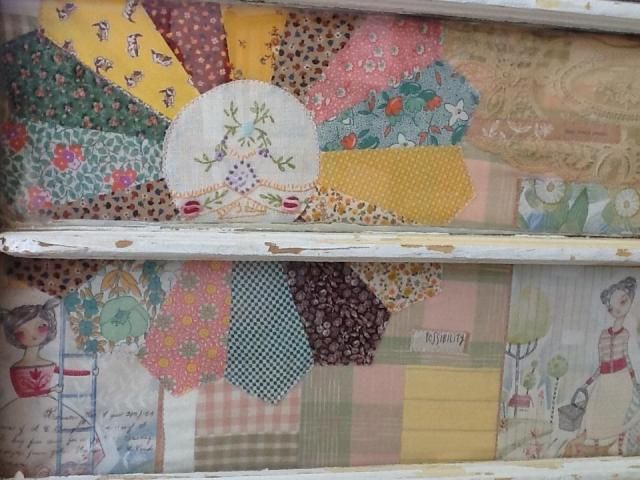
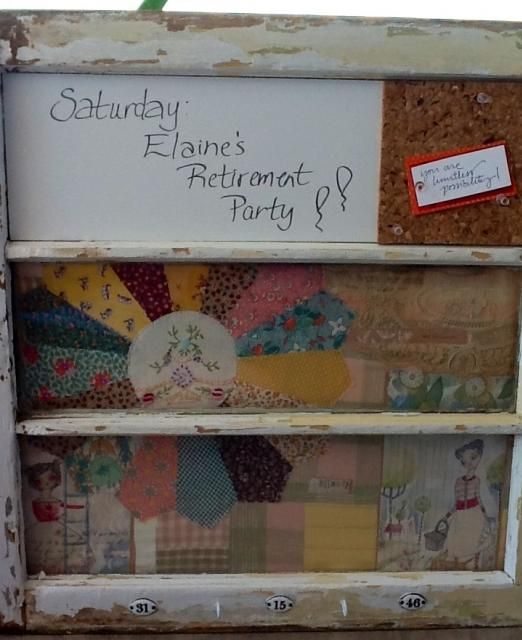
Repurposed Fabric Collaged & Message Board Window
This window needed to be cleaned up and some of the paint had to be scraped off because it was thick and messy. Next I made a fabric collage for the bottom 2 window panes. Then I cut a piece of whiteboard for the top pane and added a piece of cork board. To finish it off I attached the tags & hooks to the bottom of the window and topped it off with the flower on the side.


Friday, July 18, 2014
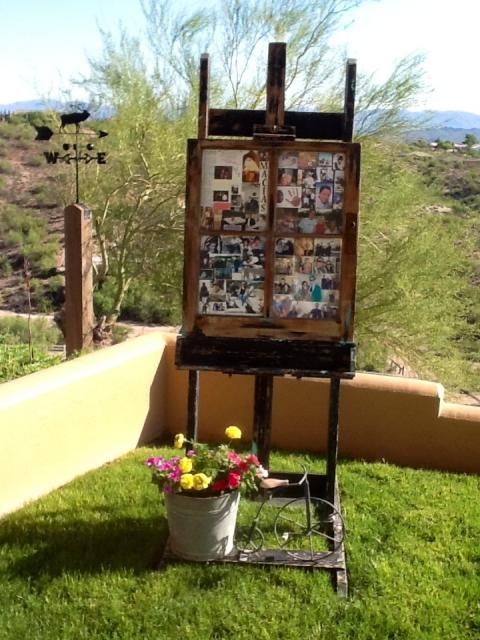
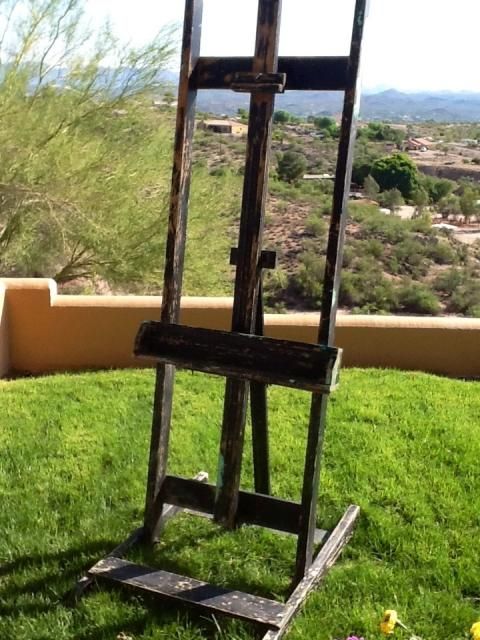
Vintage Window Picture/Collage & Easel
When I saw this easel it was love at first sight! The paint was perfectly chippy and the color was spot on. It is in Michael's room and I wasn't sure what kind of picture to put with it. Then my sister traded me some old windows for a vintage medicin cabinet. I took one of the windows and put family pictures of us from before Mike & I were married, to when Michael was born, early years, collage and now with he and his girlfriend Amanda. Each pane is separate so new pictures it can be added to it.


Tuesday, July 15, 2014
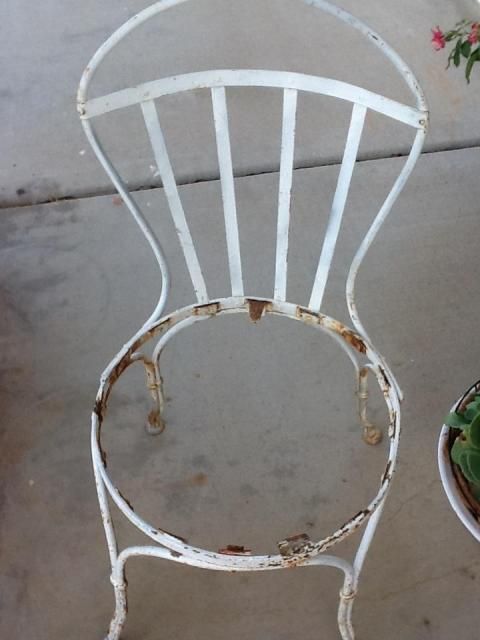
Succulent Garden Chair
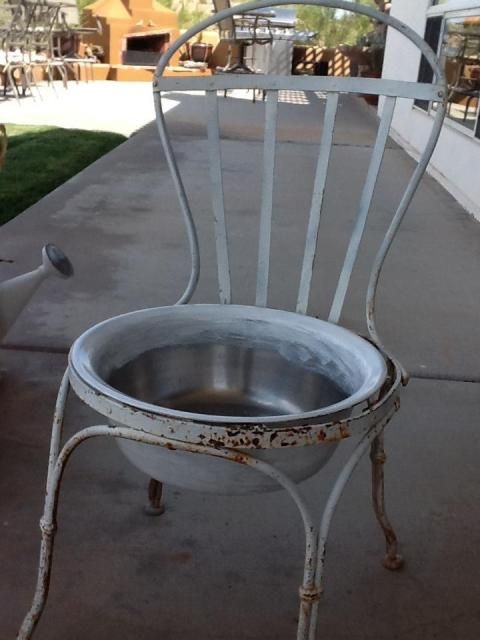
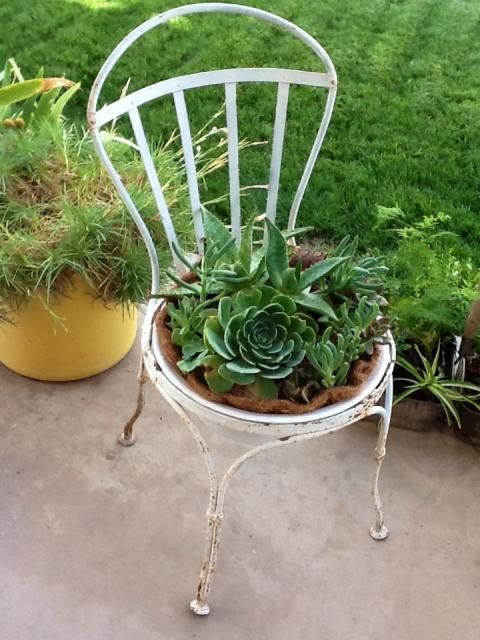
I bought this chair earlier in the summer. It's very cute but the metal seat was broken. I originally created a succulent cactus basket to fit in the seat, but it was too small to sit in the hole. So today I went around the house looking for a bucket or bowl that would fit just right. I found a metal bowl, painted it white and pounded some holes in the bottom for drainage. Last but not least, I set my succulent garden delights in it!


Monday, July 14, 2014
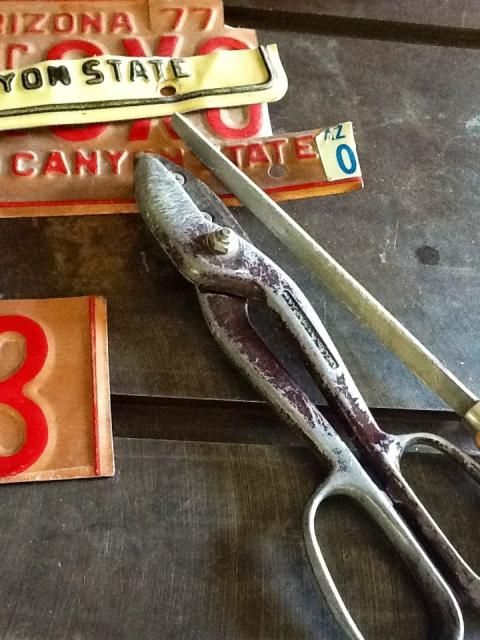
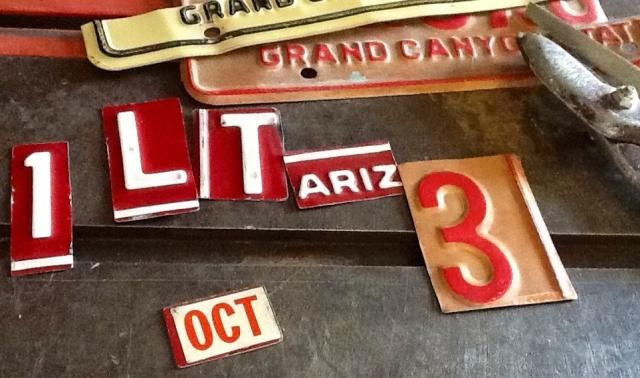
Metal License Plate Tags
I keep seeing things made out of old license plates, and I decided to try it out. I have 4 or 5 license plates. I chose the letters, numbers and symbols that I wanted to cut out. I wasn't sure what to cut the metal out with so I took a guess and used these scissors. It worked pretty well.
 The edges were pretty sharp and so I used a file to smooth them out and round the corners.
 Next, I drilled some holes in the metal so I could make a tag or keychain.
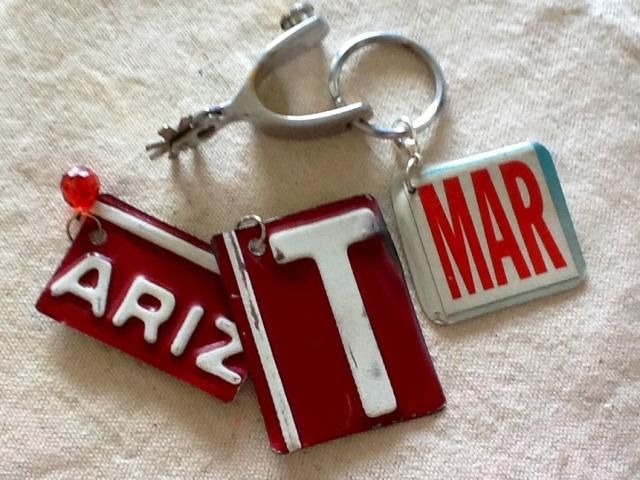 You can put the letters together to make a word, or just add an initial to enhance something.
 The edges were pretty sharp and so I used a file to smooth them out and round the corners.
 Next, I drilled some holes in the metal so I could make a tag or keychain.
 You can put the letters together to make a word, or just add an initial to enhance something.
Subscribe to:
Posts (Atom)